Mar 22, 2010

Finishing 2009-10 and planning for the 10-11 Season

THIS is Swedish Embroidery (or Huck Weaving).  This is one that Sue Price (Michigan) has done.  She's going to teach us next season this technique.
This is a beautiful one the owner of the sewing center showed Deb and I.  We both love the yellow monk's cloth which is the base.
Here the group is supporting the Elks at a fundaraiser put on by another lodge in the state.  Thank for your support guys.

 Ken spent days and days helping them get their lodge books straightened. 


"I don't know! So sue me!"


Here we are at Sunday Breakfast at the Inn.  This truly is
a weird picture of Debbie.  She usual is giving me a hand gesture when I take her picture.
Jack works at the Inn and is the BEST server. We shall miss him.


A hot game of Golf!


Linda and Newell Zeller hitting the road. 

Wyn and Ki are joining us next season also.  Woo-hoo!

Playing cards and talking about the fun we've had.


Of course SOME of us have grown

Sue's tie dye shirt


And of course there's food involved for the "last night".

Nancy and Harry; Donna and Walk

Dianne and Emile


Preparing the pizza crust


Maurice serenading us.
Brian and Maurice.  They sound good together.


During the vest project a few hand of cards are played.

The vest project will be an entirely different post.


Maynard and Sharon


Susie and Debbie

It was a good time in New Mexico this year.  We pray everyone will stay healthy this summer and will be able to return for good times next fall.


Mar 19, 2010

Making Chenille for a Vest - With No Pattern


 (REWIND: Well haven't I just done it.  Darn this thing.  I just wanted to MOVE the words not make LINKS out of them. Spit!)  Carryon:  The first thing we had to do was pick homespun material yardage, then decide what order to put them in, create a fabric "progression" and take a breath.  Get the material straight up and down then pin the pieces for your design on the two layers of "base" material.  Yes you end up with 6-7 layers of material.  AND at this point you find a 45*(bias) and begin the sewing process WHICH TAKES HOURS.  :)  


You sew on a 45* angle every 5/8" from the top to the bottom.  Then get your scissors out and cut, cut, cut.
Spray glue we found out about at tne end of the project.
This is the end of a very long day of not knowing if we are doing it right or not.  You have to do all of this BEFORE you wash and "bloom" it OR cut a pattern out.

Keep sewing...........


Then you take it to Margaret and ask her if we're doing it right.  Keep Sewing

Anna graciously helped us out.  It turned into a group project.
It's all in the washer.
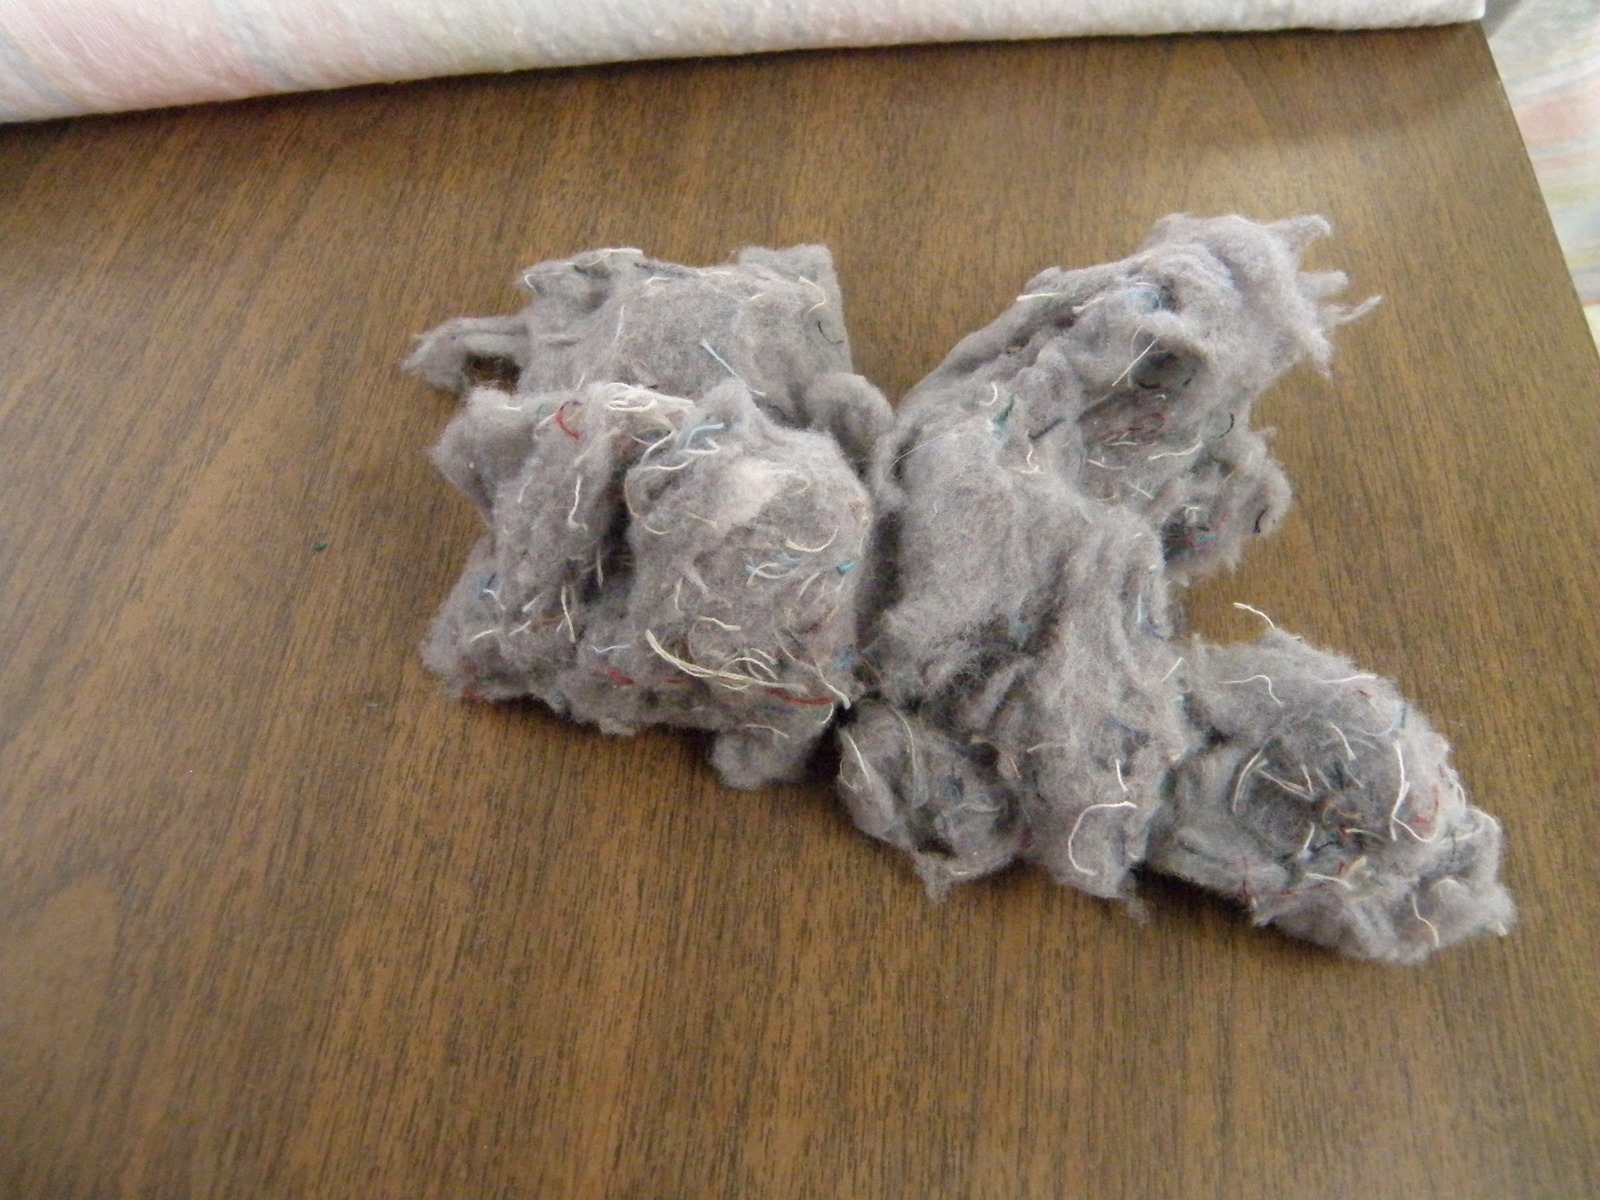
We got SO much lint out of the dryer.
YES - It bloomed and is even straight.
OK we have sewed and cut.  This is the die test. Will it bloom?


Debbie has a diamond on her back.  We were amazed that our 45's even came together nicely.


OK - I didn't go to all this work for it to be too little we say.  SO we add even MORE to the pattern.
Of course we kept of sense of humor.
OK Debbie now you sew the sides and the shoulders.

Now THIS was a Kodak moment when she found out she sewed her armhole SHUT!
Yes, dear you have NOT armhole.

This is what NO ARMHOLE looks like on the outside.
Meanwhile the ladies just kept rocking, talking (You sure wouldn't catch ME doing that) and enjoying the circus.


Bless Georgia's heart AND Lindy also.  They helped us MAKE binding and then showed us how to do it.  And yes we finally had vests.

Here are the vests done.  This is the First time. They were TOO big.
I cut this much off mine the 2nd time.

I gave up getting a picture of the 2nd time I reworked mine. 
I consider it done after the 2nd remake.  When I see Debbie I'm going to take her vest and help her remodel hers so she'll wear it.